
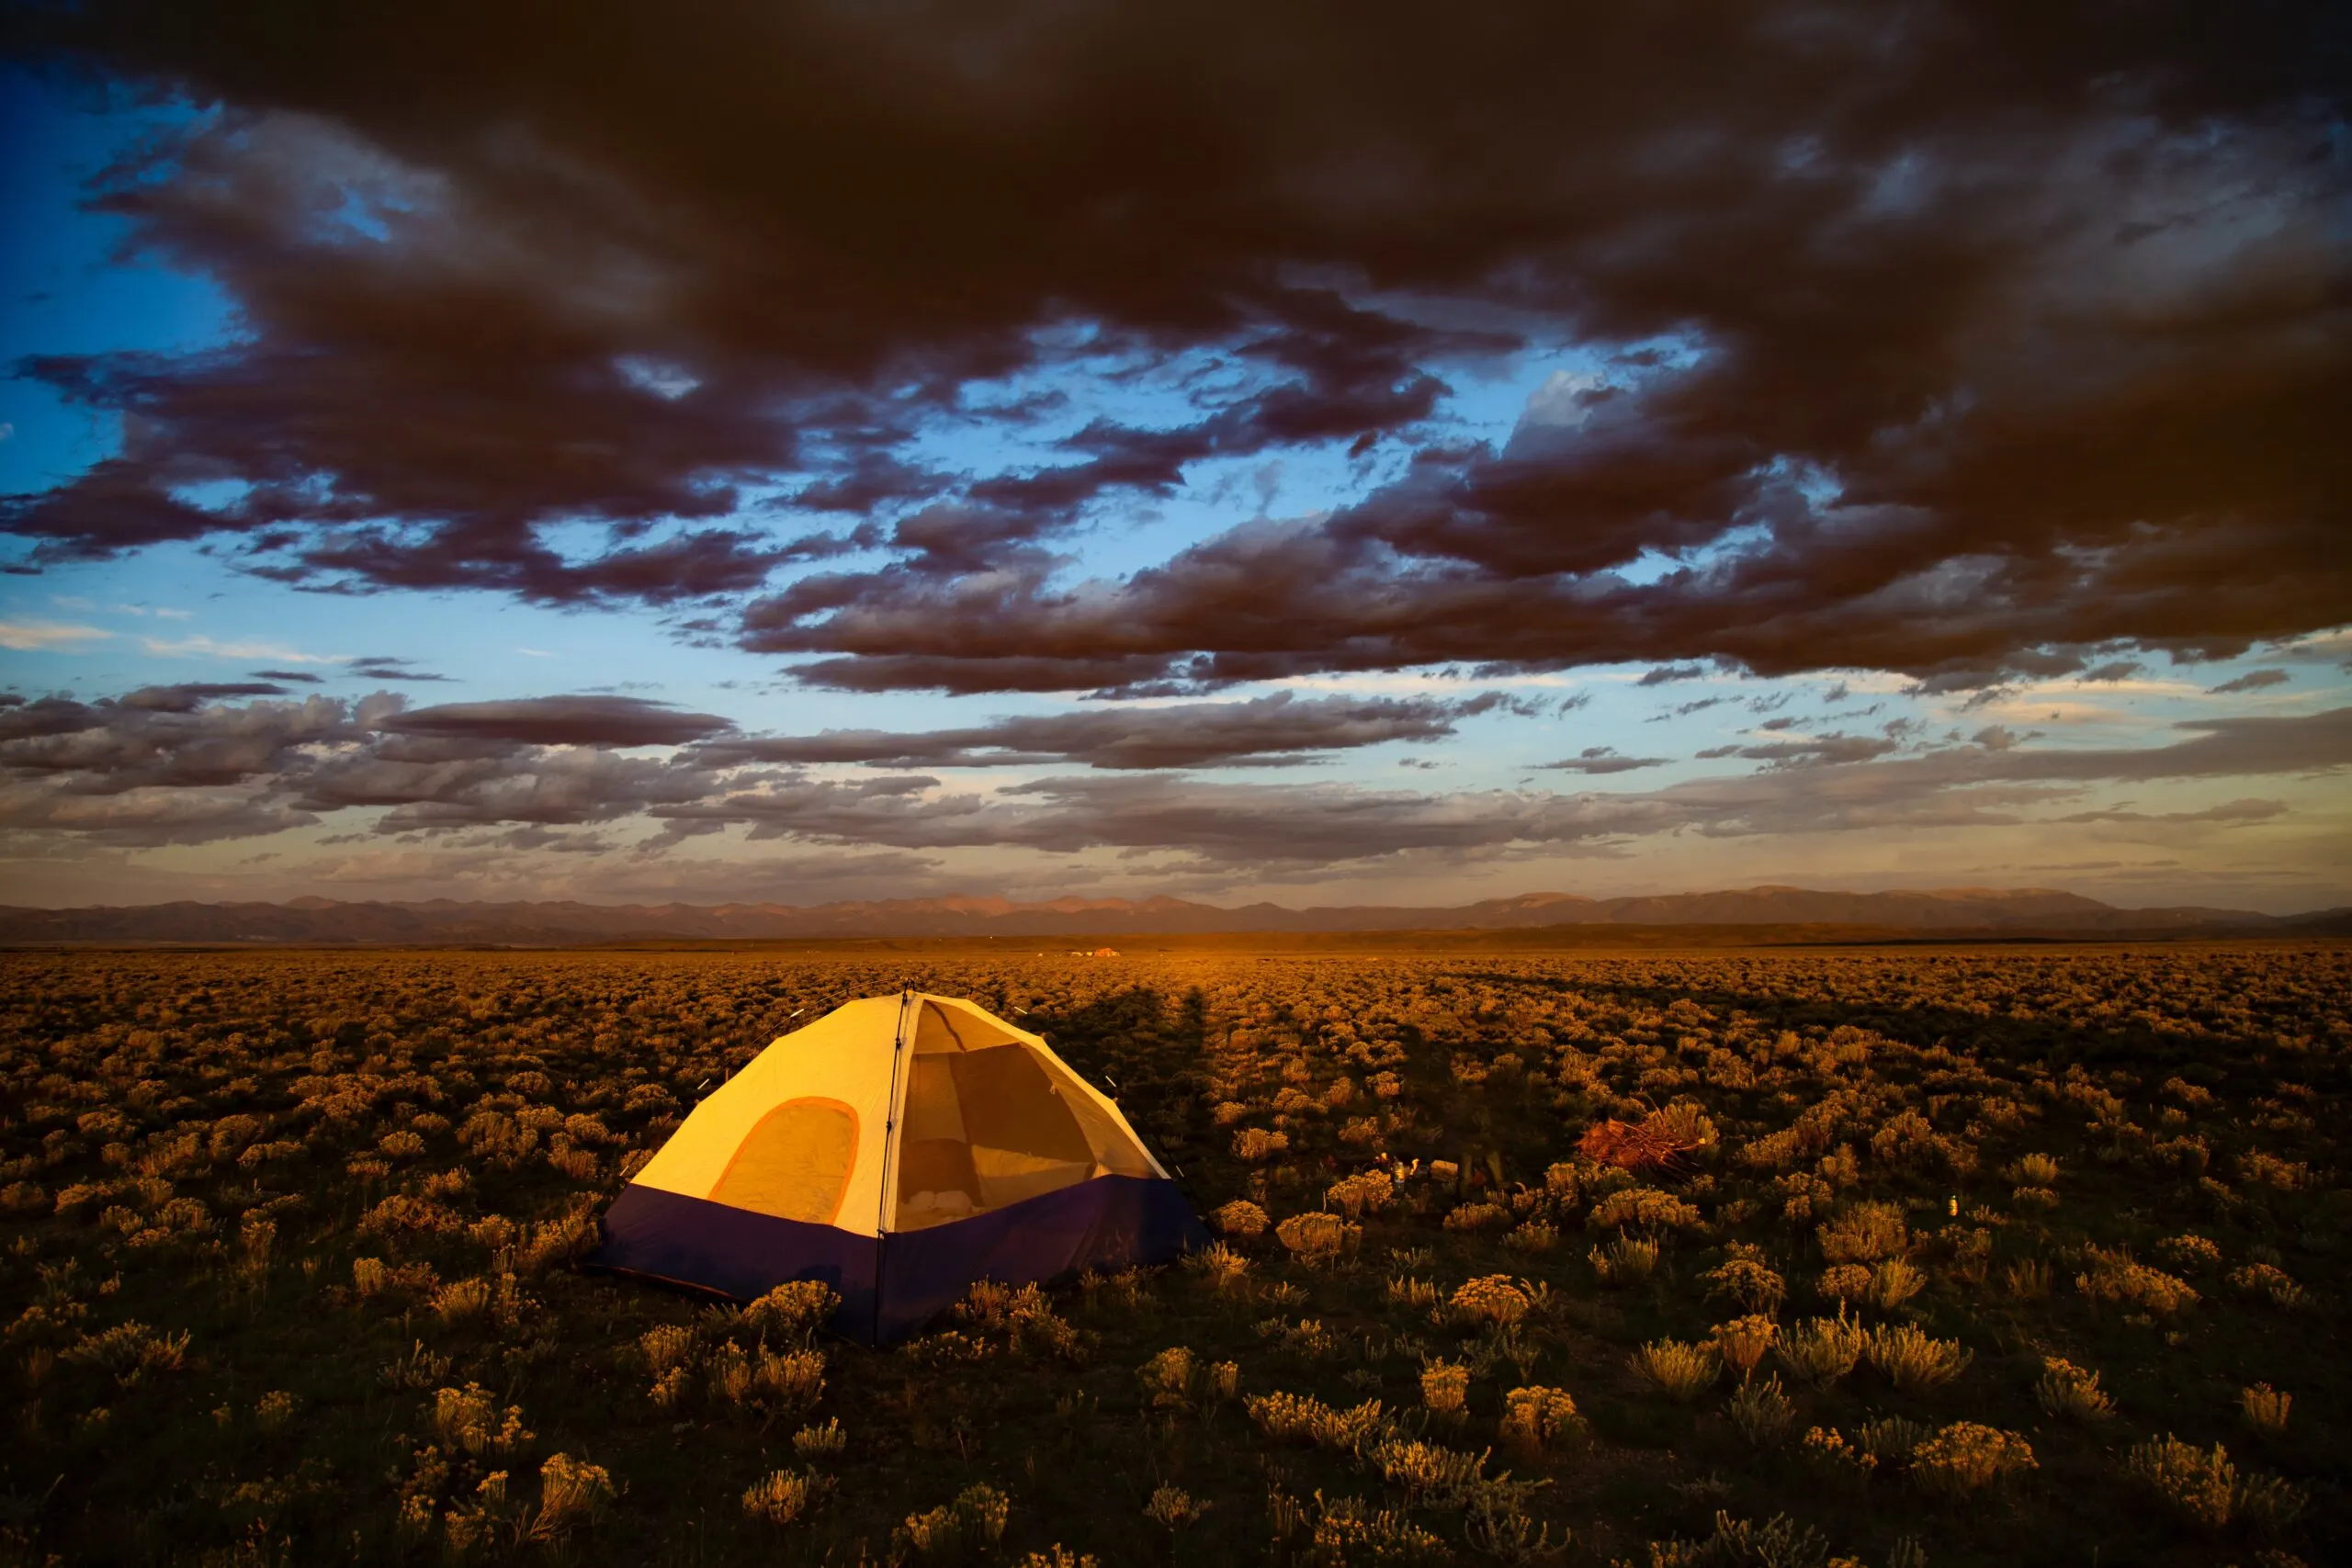
It can be a challenge to arrive at your camping site just to realize there are no trees to tie your tarp to. This could leave you exposed to the rain and wind, so it is important to know how to improvise in this type of situation.
When there aren’t any trees that you can attach your tarp to, you can use adjustable poles to hold it up. You can also use rocks or sticks to prop the tarp up in place. This, in combination with guy lines and stakes, can create a makeshift tarp shelter.
Since tarps can be so helpful for camping, it is a good idea to practice setting one up in different scenarios before you actually need it. This will help you be prepared for any situation that arises while camping.
Read on to learn more about setting up your tarp when there isn’t a tree available, what supplies you will need, and other best practices for using your tarp.
Table of Contents
How to Tarp Over a Tent With No Trees
Using adjustable poles allows you to create several different configurations to hold your tarp up. You will also need guy lines and bungee cords to attach the tarp to the adjustable poles. This will help keep it in place and prevent it from blowing away in windy conditions.
Here are some methods that you can use to create a tarp shelter without any trees:
The Holden Tent Tarp Shelter
This tarp shelter is one of the simpler constructions and can be made fairly quickly with the right materials. It’s great for wind resistance and is a sturdy structure.
- Lay the tarp onto the ground.
- Stake one of its longer edges. Placing the pole here will result in the center point being found along the opposite long edge.
- Then, stake out the other sides, and align the front edges inwards for the best wind protection.
You now have your small, but durable tarp shelter! Due to its triangular shape, the shelter can withstand high winds, and since it can be set up in less than five minutes, it is an ideal tarp shelter for people on the go.
The Arrow Head Style Shelter
A cozy small shelter in the shape of an arrowhead can be used to store supplies and gear in a sheltered spot. Follow these steps to build one:
- Two trees or poles can be used to form a ridgeline. Run the line along the desired entrance.
- Peg the opposite corner of the tarp to the ground after you throw a corner of the tarp across the ridgeline.
- The other corners of the tarp should be pulled taut, and then pegged to the ground to keep them in place. Now, the tarp should resemble an arrowhead if done correctly.
This shelter is great for those who want some extra headroom, and it can easily be adapted to fit different needs. It’s a good option for campers and hikers who are low on their rope supply.
The A-Frame Style Shelter
This style of shelter is perfect for those who need more space and want a roof over their head. It’s one of the quickest and easiest ways to put a tarp over your tent with poles.
- Make a ridgeline. Ridgelines are lines of cord or rope that are tied between trees or poles.
- Place a tarp on top. Ensure that the cord runs along the middle of the tarp and spread it evenly over both sides of the ridgeline.
- Pull the tarp’s corners until they are taut and then peg them into the ground to keep them in place.
It’s very important for the tarp to be pulled taut for this shelter to work. This will allow it to distribute any rain evenly so it flows properly instead of pooling water and flooding your tent.
You can create a dripline to avoid this. Take a piece of rope and tie it to your tarp line to angle the water away from your sleeping area.
Diamond Frame Tarp Shelter
A tarp shelter that closely resembles an actual tent can be made without trees. If you want to keep the weather out, you can use a diamond frame configuration with one entrance and three enclosed sides!
Putting up a tarp shelter without trees is not the easiest task, but if you follow the instructions below, you will have it up in no time.
- The first step is to set up your tent pole. It is used as the base for the entrance to the shelter. It is important to place the pole so that you aren’t facing the wind. If you build the tarp shelter that way, the shelter will block the wind since the entrance will be opposite the direction of the wind.
- Overlap the tarp over the pole. Ensure the edges of the tarp are positioned correctly. The tent pole should have one edge leaning upwards, and the rest of the edges should flow down on the sides. The tarp positions should be adjusted until you have a suitable structure for your new shelter.
- We’re ready to put those pegs to good use now! So that the shelter remains stable as it should, you must stake the tarp in a preset order. Directly opposite the tent pole is the first side that should be staked. This will cause the tarp to develop straight edges on the side. A stake should be inserted through both sides of the tarp. It is important to stake the tarp sides tight at this point, so don’t worry if the tarp falls off the pole.
- The tarp will now need to be positioned so that it pushes the pole to the ground, creating a stable base and entrance. For a low profile shelter, align the pole closer to the ground; for a high profile shelter, do the opposite.
The diamond frame shelter is perfect for preventing rain and wind from entering your tent area. It’s strong and stable once you have experimented with it enough to get it as snug as possible. This is an excellent choice for backpackers overall, especially if the weather is unpredictable.
The Wedge Style
For protection against wind, rain, or direct sunlight, the wedge-style setup is ideal. Additionally, it provides excellent protection from rain when using a campfire or gas stove.
- Use two trees or poles to form a ridgeline. You can set the height as high or low as you like.
- Spread your tarp over the top. You can spread it out on top of the ridgeline similarly to an A-frame but with more tarp on one side.
- Put a peg in each corner of the tarp to keep it in place after you pull it taut on each corner.
If you need some protection but don’t want to feel claustrophobic, the wedge line is an excellent choice. As a result, this setup does not provide protection from the elements from all directions. When the wind direction changes, you may become exposed.
Benefits of Using A Tarp Over Your Tent
There are many benefits of using a tarp over your tent, and plenty of reasons to bring one on your camping trip beyond the use of covering your tent. Read on to learn how a tarp could be helpful for you:
It Blocks the Wind
One of the primary uses of a tarp is to protect a tent from the wind. Wind can create a lot of damage to a tent, particularly if it is not secured properly. It can blow debris onto the tent, causing it to rip or puncture. It can also cause the tent to flap in the wind, leading to an uncomfortable night’s sleep. A tarp can help reduce or eliminate this problem.
The best tarps for wind protection are those that have a lot of surface area. The more surface area the tarp has, the more wind it can catch and redirect. Make sure you get the correct size tarp for your needs.
It Protects Your Tent From Rain
A tarp can also protect your tent from rain. If you set it up correctly, the water will run off the sides of the tarp and will not enter the tent. This can help keep your tent dry, which is important if you are camping in a wet environment.
It Can Extend Your Shelter
Depending on how you set it up, a tarp can also be used to extend the shelter of your tent. You can have a space to take off and put on your shoes that is dry or store your gear outside of the tent if you don’t have much space inside.
It Blocks the Sun
A tarp can also be used to block the sun. This can be helpful if you are trying to get a break from the heat or if you are trying to protect your gear from the sun’s damaging rays. Choose a tarp colour that is light-coloured to reflect the sun’s heat instead of absorbing it.
It Is Affordable
Tarps are affordable, and they can be used for a variety of purposes. This makes them a versatile piece of camping gear that is worth having in your arsenal. They range in price from about $20 to $150, so there is something for everyone.
It’s Portable
Tarps are also portable. They can be folded up and put into a small bag, which makes them easy to transport. This is a valuable feature if you are backpacking and need to save space. They are lightweight and waterproof as well, making them durable and useful for a variety of purposes.
It Can Replace a Tent
In some cases, a tarp can be used to replace a tent. This is particularly true if you have an issue with your tent and need to use your tarp as a backup shelter. It’s also a good option if you are car camping and don’t want to carry a lot of gear.
Do You Need a Tarp Over a Tent?
Whether you need a tarp over your tent depends on the conditions in which you are camping and your personal preferences. If you are camping in an area with high winds, it is a good idea to use a tarp to protect your tent. If you are camping in an area with lots of rain, a tarp can also be helpful.
If you are camping in an area with lots of sun, a light-coloured tarp can help reflect the sun’s heat. If you are backpacking and need to save space, a tarp can be a valuable piece of gear. Ultimately, it is up to you to decide if a tarp is necessary for your camping trip.
If you are not sure whether or not you need a tarp, it is a good idea to bring one with you just in case. This will give you the peace of mind that you are covered. You can also use tarps for other purposes, such as shading your picnic table or creating a windbreak for your campfire.
You can also use it under your tent as an extra layer of insulation and to keep the bottom of your tent clean.
Final Thoughts
A tarp is a valuable piece of camping gear that can be used for a variety of purposes. If you are not sure whether or not you need one, it is a good idea to bring one with you just in case.
Remember to bring camping poles if you’re unsure about whether or not there will be trees at the campsite you’ve chosen. This will ensure that you can set up your tarp correctly in case of bad weather, no matter what.