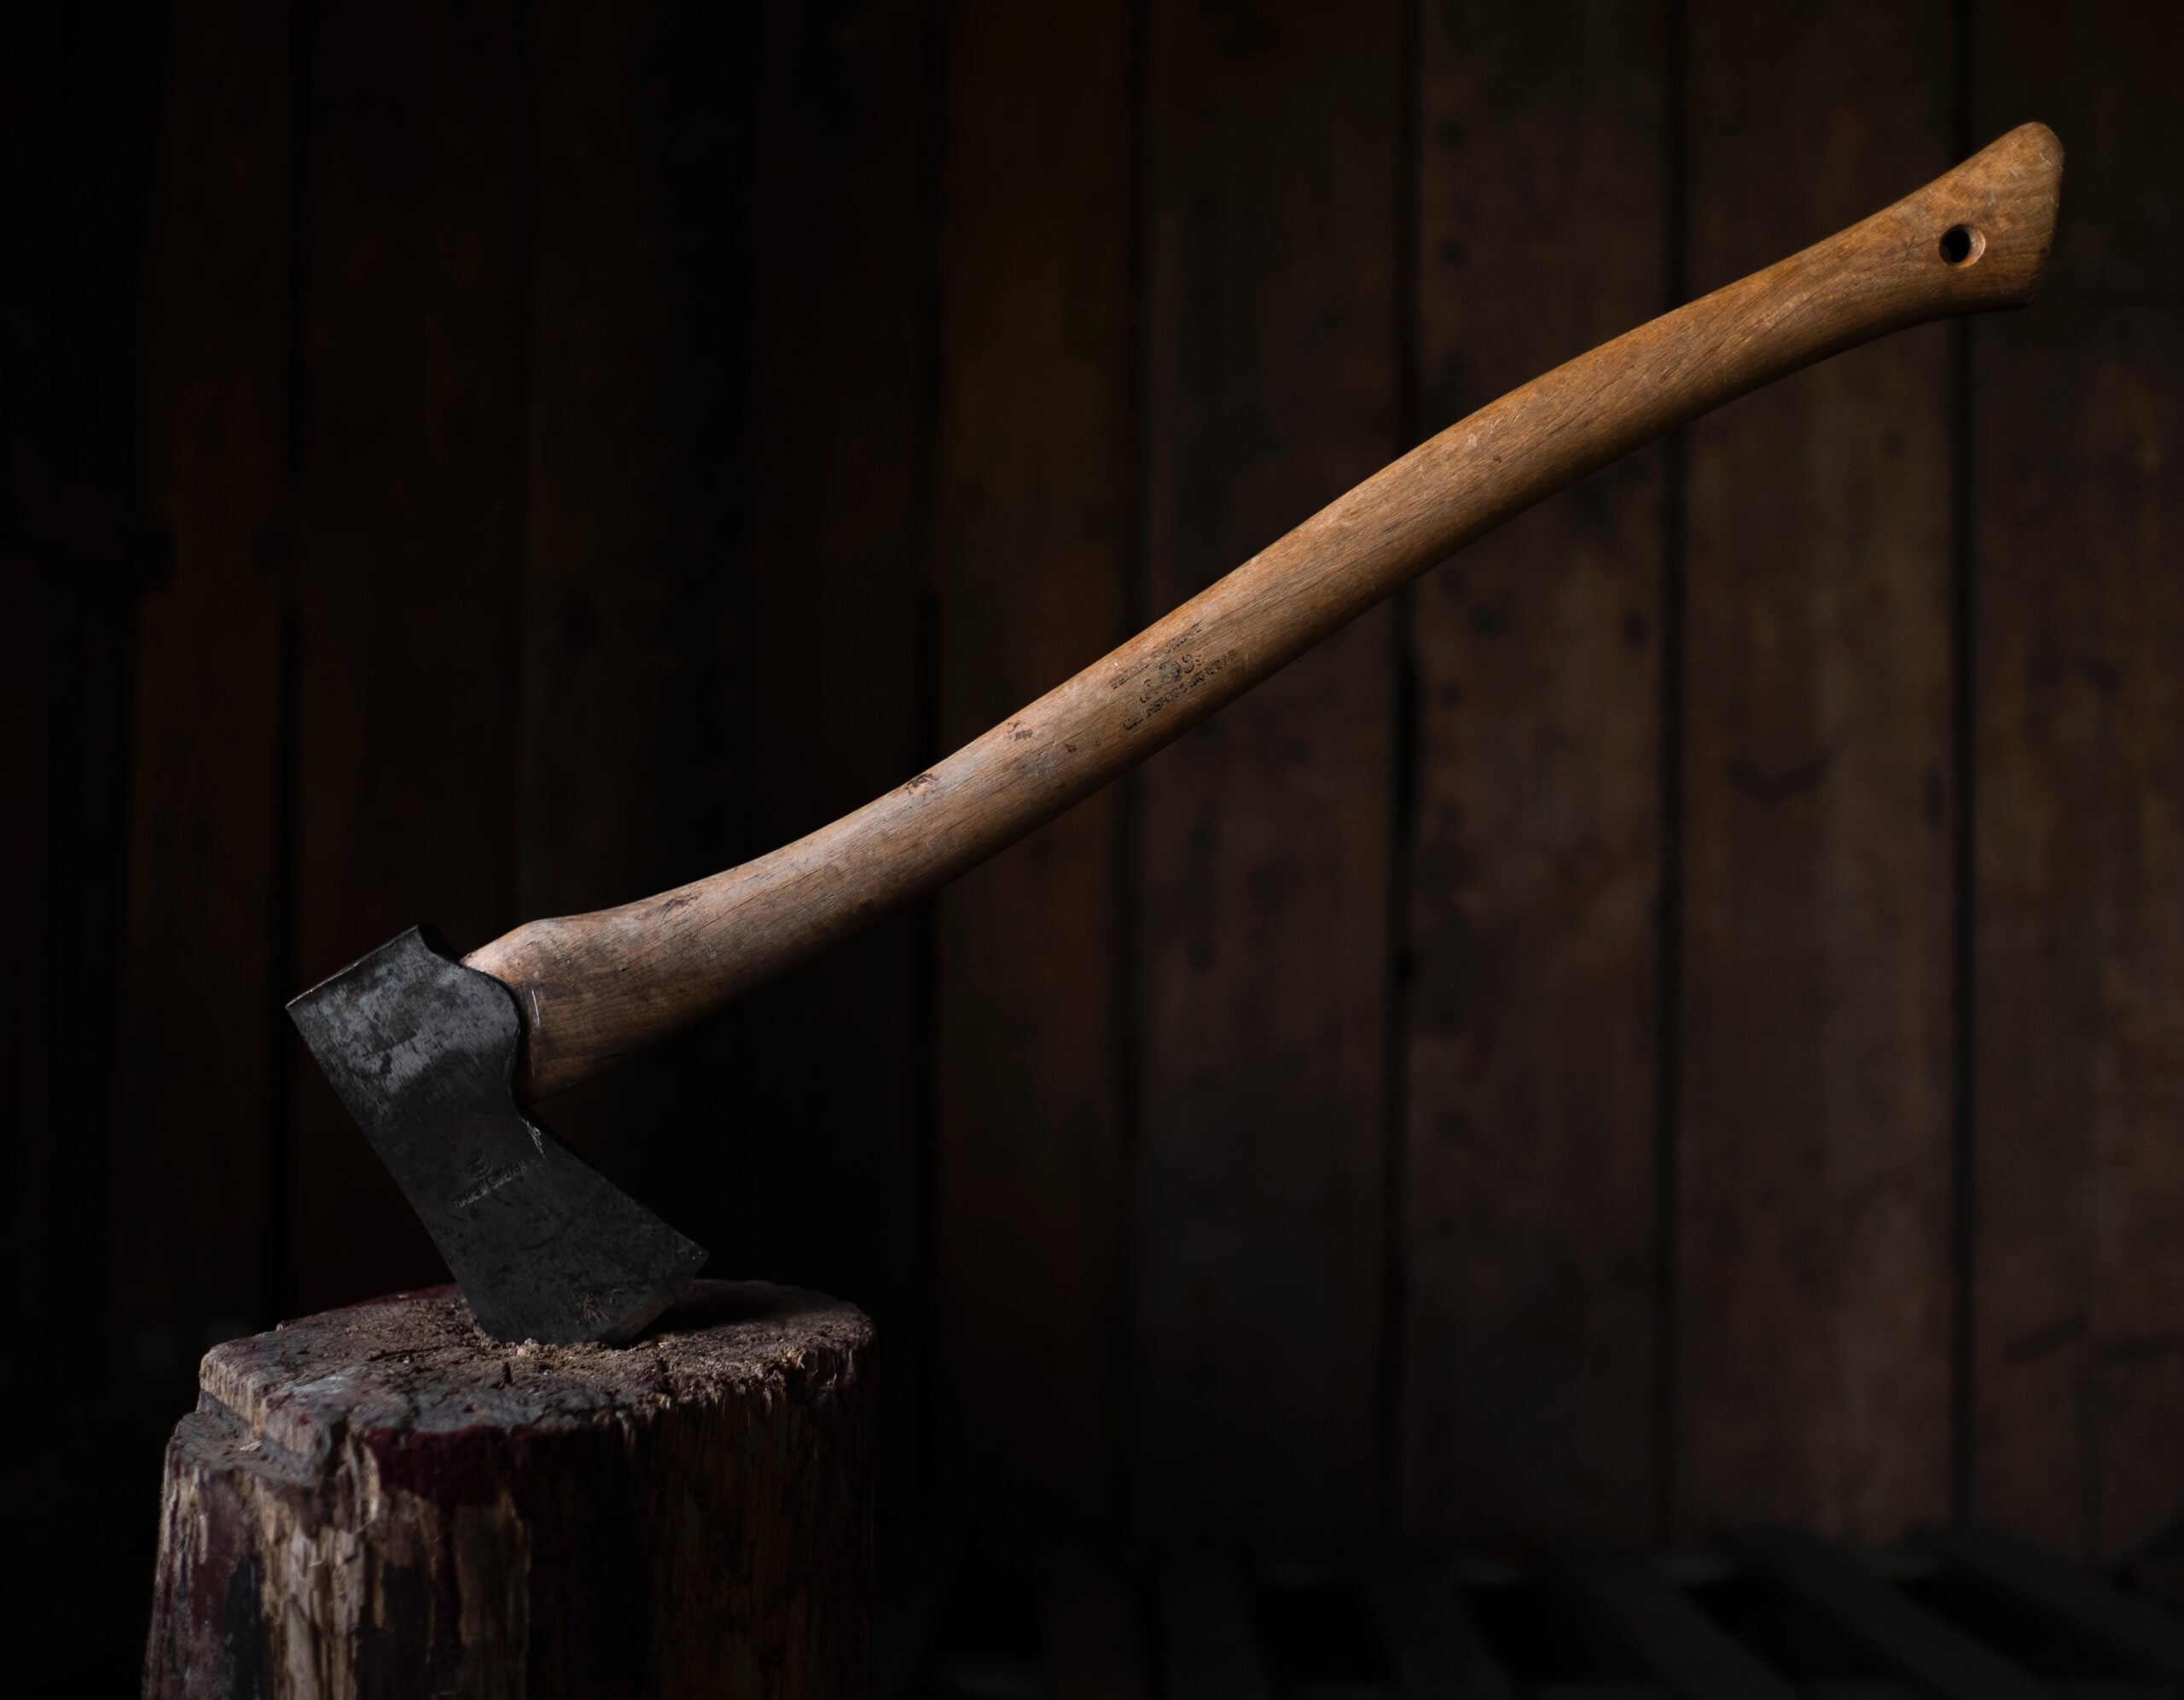
Do you want to increase your woodcutting efficiency? Do you feel like your splitting maul is not doing its job? This article is for you!
Here, we will teach you how to sharpen a splitting maul. We will show step-by-step instructions on how to sharpen the blade of your tool and what tools are required for this process.
Table of Contents
To Sharpen or to Not Sharpen Your Maul?
When you first purchase a splitting maul, it usually comes with the blade factory-sharpened. All of your wood cutting efficiency depends on this edge.
You can expect your maul’s edge to stay factory sharp for up to five years when you are only splitting wood every once in a while. If you use your maul often, it will become dull much faster than this.
When you notice that your maul is dull, you’ll need to decide whether or not it’s a good idea to sharpen it. One of the best ways to determine the best approach is by assessing how well the maul is currently working.
If you don’t notice much of a difference when using it to split your wood, there may not be much of a reason to sharpen it. Functionality should be the primary concern, especially if it means retaining as much metal on your maul’s axehead as possible.
If your maul is bouncing when you are trying to split your wood or if the maul is becoming increasingly harder to use, then you should consider sharpening it.
You’ll also want to consider how much you should sharpen it. A little bit of sharpening can go a long way, but remember that there is a point of diminishing returns.
Too much sharpening could also lead to the blade becoming too thin and unstable. It’s important to find that happy medium so you’re not putting in more effort than necessary.
What Materials Are Needed for Sharpening a Splitting Maul?
Before you get started, there are several tools and materials that you will need in order to sharpen your splitting maul.
The first thing you’ll need is a good file for sharpening the edge of your splitting maul. You can use either a mill bastard file or double-cut flat metal file. The size of the file should be at least 12 inches long.
It’s also important that the file is only one-sided. You do not want to use a double-cut file with two cutting surfaces because this will negatively affect your sharpening results.
You’ll need something to put on top of for stability during filing. A piece of wood, metal, or some sort of hard surface is perfect for this. You can either use a vice or a clamp to secure your maul in place while filing.
It’s also important that you have eye protection when sharpening your splitting maul because particles are often ejected from the blade during the process. Finally, something with which to hold the stone is necessary so you can move the blade of your maul against it to sharpen.
How Do You Sharpen Splitting Maul?
Sharpening a splitting maul is a very straightforward and simple process that you should be able to complete in under an hour, if not sooner.
1. Place the Maul on a Flat Surface
First, you’ll need to place your splitting maul on a flat surface. This could be any hard and sturdy material that is at least as long as the blade of your maul.
You can use either a table or woodblock for this step because they are both very common types of surfaces used for sharpening tools.
2. File One Side of the Maul Head
Next, start off by holding the file at about 30 to 45 degrees to the maul’s cutting edge. File from the heel to the tip of your blade at a consistent speed and pressure, just as you would if filing something yourself.
To ensure that you are holding the correct angle, occasionally place one edge against a straightedge so it’s level with both sides.
3. Repeat on the Other Side
Repeat these steps until you have filed both sides of the blade. Try to do each side evenly and file each side at the same angle. Feel free to go back and forth between two sides, taking a bit off each time until you get the optimal sharpness and evenness.
4. Assess Your Work
The final step is to assess how well the sharpening process went. You can check by doing one or both of two methods:
The first method entails placing an object such as a toothpick on the cutting edge and pulling or sawing it across. If you can feel resistance when the object is being cut by your blade, then this indicates that there’s still some sharpening to be done.
The second method entails testing how well the maul cuts when splitting wood as usual. You’ll want to split several pieces of wood and compare the results. If the blade is still having trouble cutting through the wood, then you’ll need to sharpen it some more.
This handy video explains the process further:
How to Sharpen Your Maul With a Grinder
While hand sharpening is the traditional way to sharpen your splitting maul, you can also use a grinder. This option is much quicker, but you will have to be careful not to remove too much material too fast.
1. Set Up Your Grinder
The first step of using a grinder involves setting up the grinder and attaching the appropriate grinding wheel to it. Then, you can secure the grinder by using a C-clamp.
2. Grind the Splitting Maul
Next, you’ll want to hold the splitting maul so that it’s in a comfortable position. Then, simply move the blade of your maul against the grinder wheel at a 30 to 45-degree angle. This should take approximately 10 to 15 seconds.
3. Repeat on the Other Side
Once you have ground the blade on one side, you’ll then want to do the same thing on the other side. Again, make sure that you are holding the grinder at a 30 to 45-degree angle and that you are moving the blade against the grinder wheel quickly.
4. Use a Hand Stone to Smooth Out the Edges
If you want to make sure that your blade is as sharp and smooth as possible, then you can use a hand stone or honing rod to do so. You’ll just need to simply run it across either side of the maul’s blade one time after grinding on each side with a grinder wheel.
How Much Sharpening Is Enough?
Now that you know how to sharpen a splitting maul, the next question is how much sharpening is necessary for optimal performance.
Ideally, you will want to sharpen your blade until it’s just starting to lose its edge. This means that the blade won’t be able to cut through wood as easily as when it was new, but it will still be effective for splitting logs.
Going beyond this point can actually do more harm than good because you’ll start to remove too much metal from the blade and it will become blunt more quickly.
How Often Should I Sharpen My Splitting Maul?
There’s no definitive answer to this question because it will depend on how often the maul is being used and what type of wood is being split. However, as a general rule, you’ll want to sharpen your splitting maul when you notice a bounce when splitting logs or the blade starts to take more effort to cut through wood.
This will help to keep you safer because a dull maul can bounce back and hit you as it’s being swung.
Blunt blades also have a tendency to wedge into logs, which will require either pulling them out or making the log split in an unintended direction. This could potentially result in injury if your attention is diverted at any point during this process.
Are Splitting Mauls Hardened?
Yes, splitting mauls are hardened. This is done in order to make them more durable and resistant to chipping and cracking. However, this can make a maul’s head more rigid and difficult to sharpen by hand.
Keep this in mind when you sharpen your maul and remember to only take off a small amount of metal at a time. It’s better to go slowly and take off less than to go quickly and risk removing too much metal.
Following this principle will extend your maul’s life indefinitely.
Maintenance for Your Splitting Maul
Here are some final tips for taking great care of your splitting maul, and even reducing the number of times you’ll need to sharpen it overall:
- Always store your splitting maul in an area where it won’t be exposed to moisture. If the metal is allowed to rust, you’ll need to sharpen it more often.
- If your splitting maul begins to rust, you can clean it off with a wire brush. However, do not use any type of harsh chemical or metal cleaner on the blade as this could damage it.
- Regularly oiling your maul’s handle will help to keep it in good condition and make it less likely to crack or split. Using linseed oil or a similar type of oil will keep the wood from drying out and becoming brittle.
- Make sure that you aren’t storing your splitting maul in a way where it could fall or be knocked over, which could potentially damage the blade.
Final Thoughts
As you can see, sharpening and maintaining your splitting maul is an easy process that only requires a few simple steps. By following these guidelines, you’ll be able to keep your blade sharp and in good condition, so you can continue splitting logs with ease.
Looking for more expert tips? Our list of essential guides has you covered.